Applying a wall decal can be a quick and easy. Follow along with this best practice guide to install a decal effortlessly.
Step 1
Select the perfect space for your decal. Look for any bare surface that could use some decoration, or an old space that needs a fresh look. Take notes on the details of the space that you plan on using. Ensure that you measure the area before you order the decal. Lastly, this is very important, please make sure the surface is smooth. The reason you want a flat, smooth surface is because all the detail on the wall or window will show once you install the decal.
Step 2
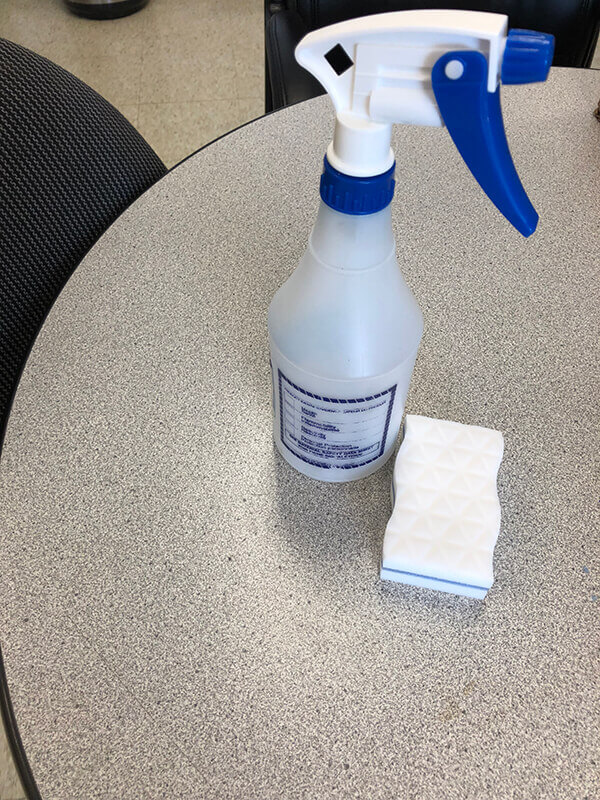
Clean the surface. Removing any dirt or oil from the surface is very important. If you don’t, dust, dirt, or oil may be trapped underneath the decal, which may be clearly visible. To clean the surface, we recommend using a cloth with soap and water.
Step 3
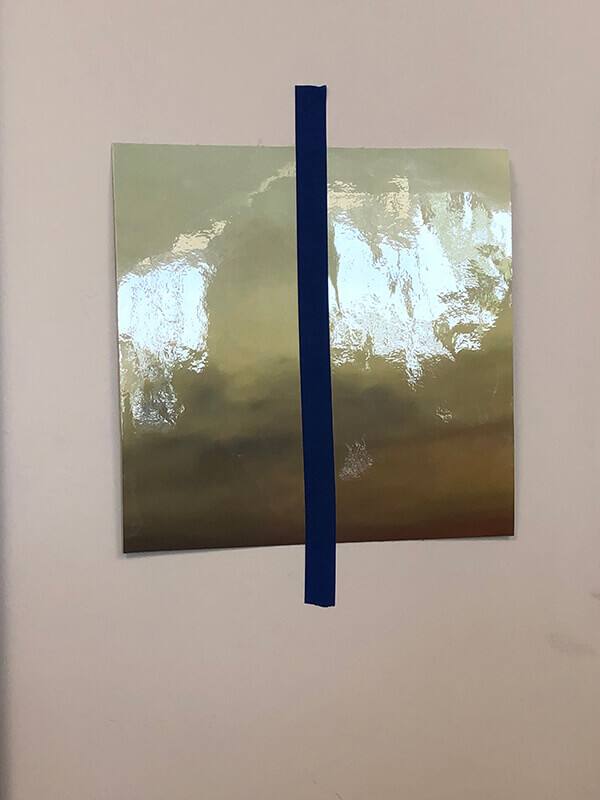
Adjust the placement. Leave the paper backing on, and temporarily tape the decal to the wall. We recommend painters tape! Step back and make sure you are happy with how the placement appears on the wall. This is the time to make any adjustments, until you are happy with the placement.
Step 4
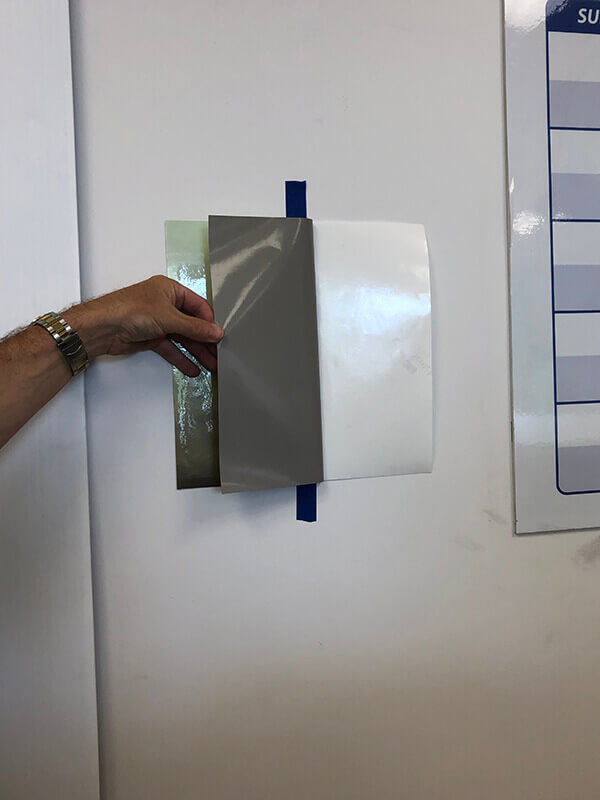
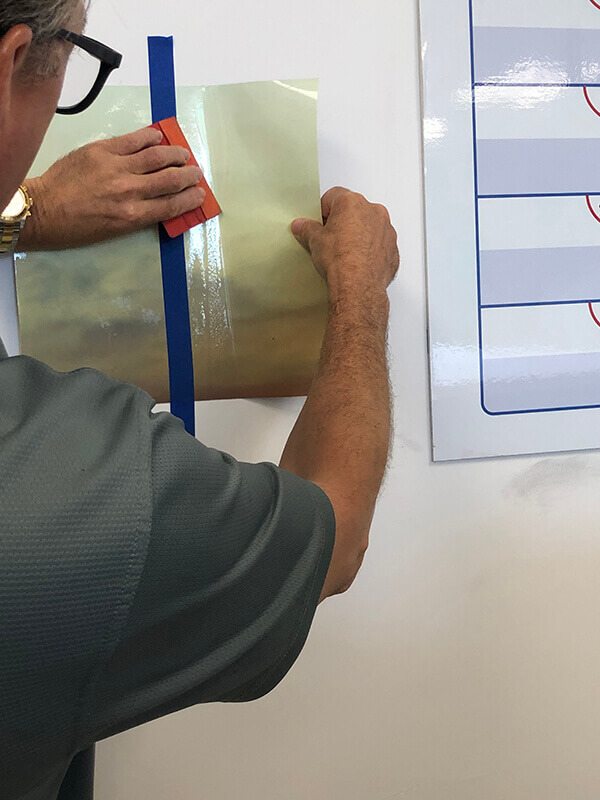
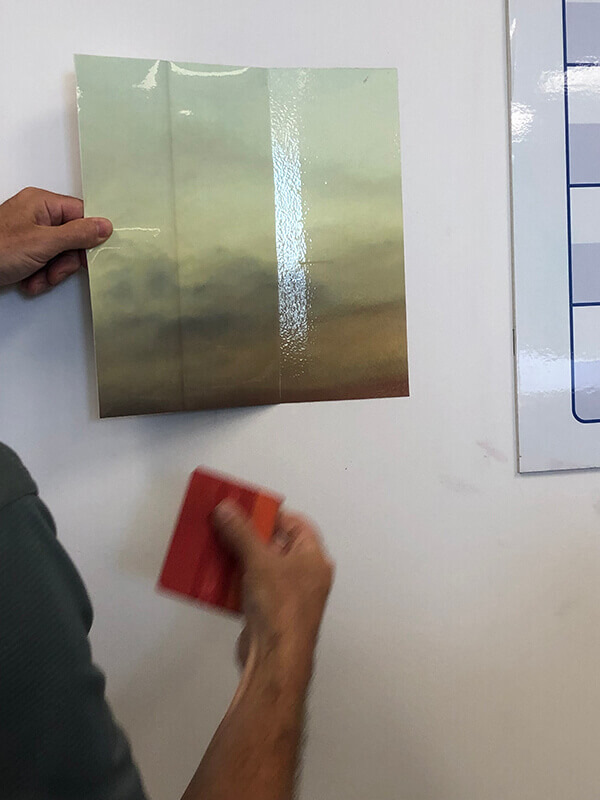
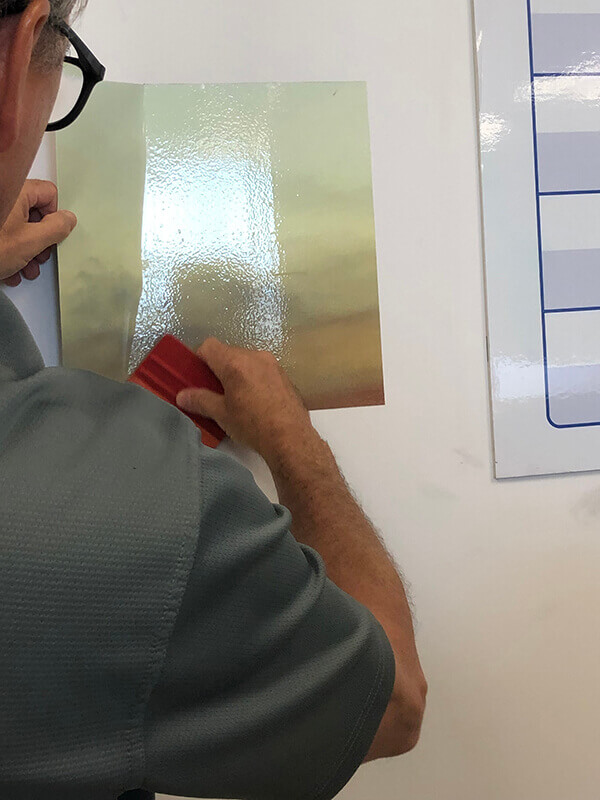
Remove the backing paper. Once in place, put a long piece of painters tape across the middle of your decal. If your decal is very long, also add a couple pieces of tape to each side of your decal. Once you are happy with the placement of the tape, remove the painters tape from one side of your decal. This will create what is called a hinged flap. Raise the hinged flap and begin to peel off the backing paper. This will expose the adhesive side of the decal. Only peel the backing paper off your decal to where the tape meets in the middle of your decal. Using a pair of scissors or a razor, cut away the peeled backing paper. Next you will use your squeegee - if you don’t have a Squeegee that’s okay, a debit/credit card will work just fine. You will need to start in the middle where your painters tape crosses the decal, begin to apply the sticky side of your decal to the surface. Use horizontal strokes to apply the decal equally. Continue smoothing out the decal from right to left with long horizontal strokes assuring the decal is securely adhered to the surface. Remove the final piece of painters tape. Once that is done repeat the same steps on the other side.
If your decal has a pre-mask slowly begin peeling it off your decal. Be careful with any lower case “i”s and “j”s so as not to lose the superscript dot.

Step 5
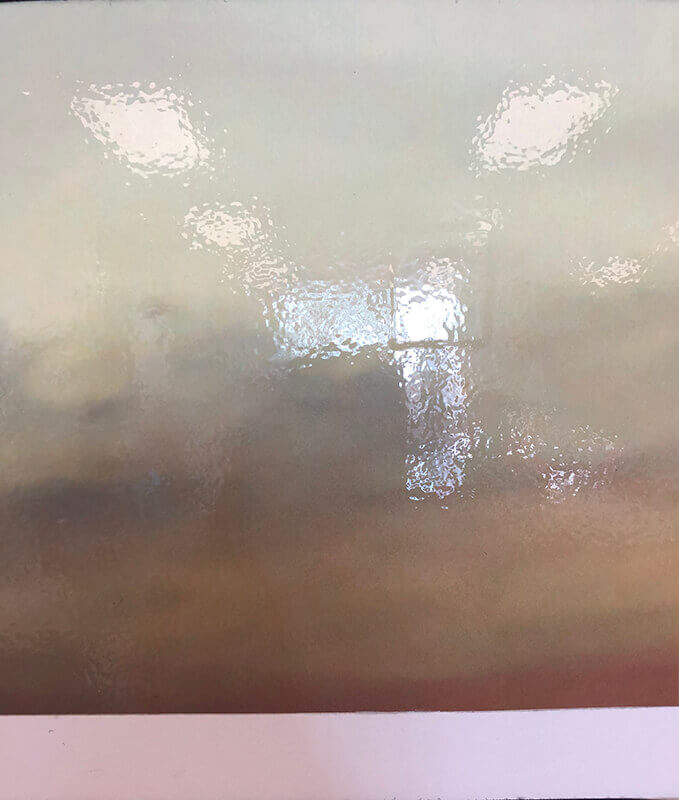
Final Check - Now that the pre-mask is removed, your new vinyl decal is now installed! Do a quick check to ensure that your decal is adhered to the surface. You many see a couple of small air bubbles. If you want you can make a small incision into the vinyl with a razor and use your squeegee to push the air out. Most air bubbles will disappear in a few weeks.
If you have any other questions, please give us a call at (226) 240-4164. At FASTSIGNS, we are always happy to help you!


