Key Takeaways:
ADA-compliant restroom signage requires careful attention to placement, tactile features and the appropriate use of accessibility symbols to ensure true accessibility for all visitors.
Proper installation and design are essential for both legal compliance and creating a welcoming environment.
Partnering with experienced signage professionals like FASTSIGNS streamlines the process.
Your restroom signage is a legal requirement, a wayfinding tool and a statement about how your facility treats every visitor. Get it wrong and you face compliance violations, costly corrections and a poor experience for anyone with a visual or mobility disability. Get it right and you remove real barriers for real people.
The 2010 ADA Standards cover everything from mounting height to Braille dot spacing, but the rules become straightforward once you break them into the three things that actually matter: where the sign goes, what it looks like and how it gets installed. FASTSIGNS partners with facilities like yours to design, produce and install compliant signage that meets both the legal requirements and your commitment to accessibility.
ADA Requirements for Restroom Signs in Public Buildings
Nearly every business open to the public must comply with ADA Title III, which includes restroom signage. The requirements fall into three clear categories: placement, design and installation. Understanding all three is what separates a sign that checks the box from one that genuinely serves every visitor.
Precise Placement and Mounting Height
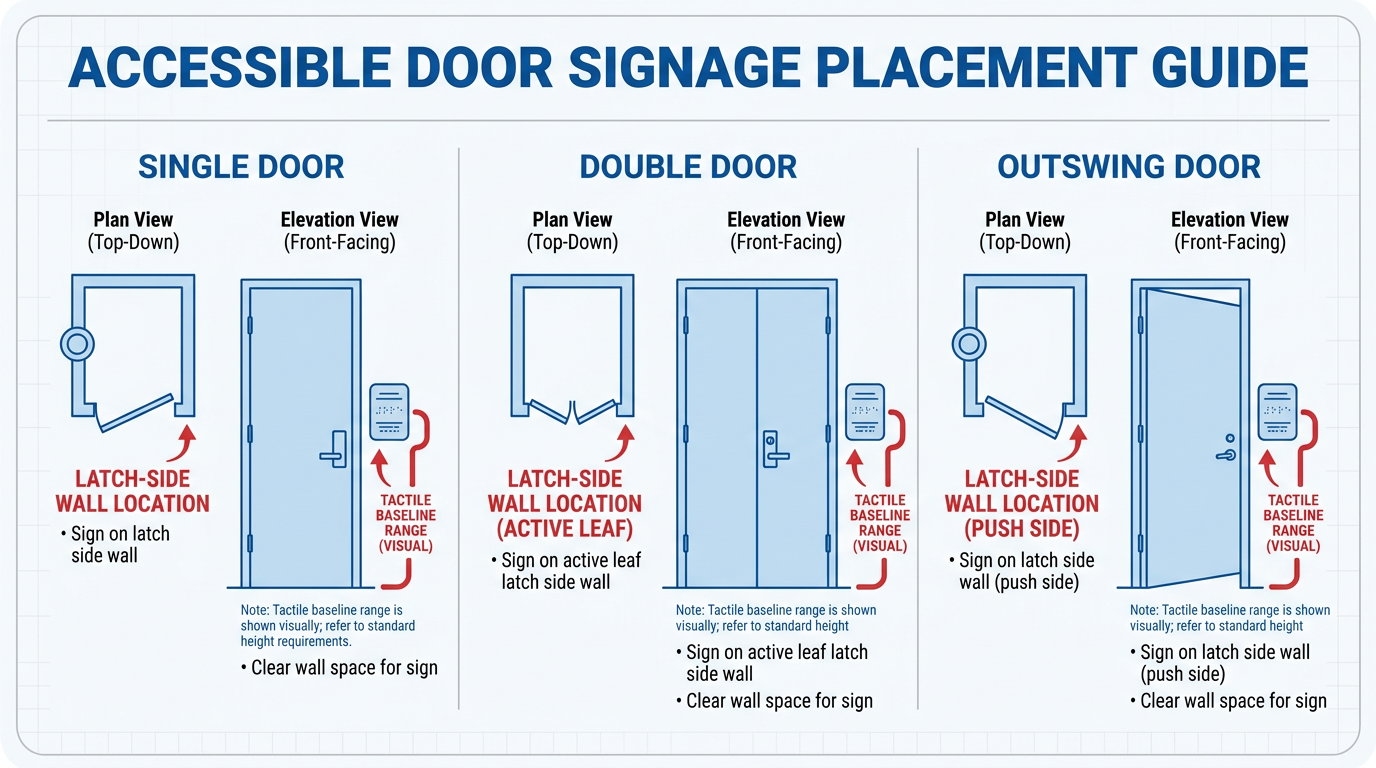
Mount tactile restroom signs on the wall adjacent to the latch side of the door – never on the door itself. Standards require tactile character baselines between 48 and 60 inches above the finished floor. That range works for both wheelchair users and standing visitors. You also need at least 18 inches of clear floor space in front of the sign so people can approach and read it without obstruction.
When no latch-side wall exists, mount the sign on the nearest wall outside the door's swing path while maintaining the required baseline height. For outswing or double doors, place the sign on the nearest adjacent wall per ADA guidelines.
The Two-Sign Strategy for Full Compliance
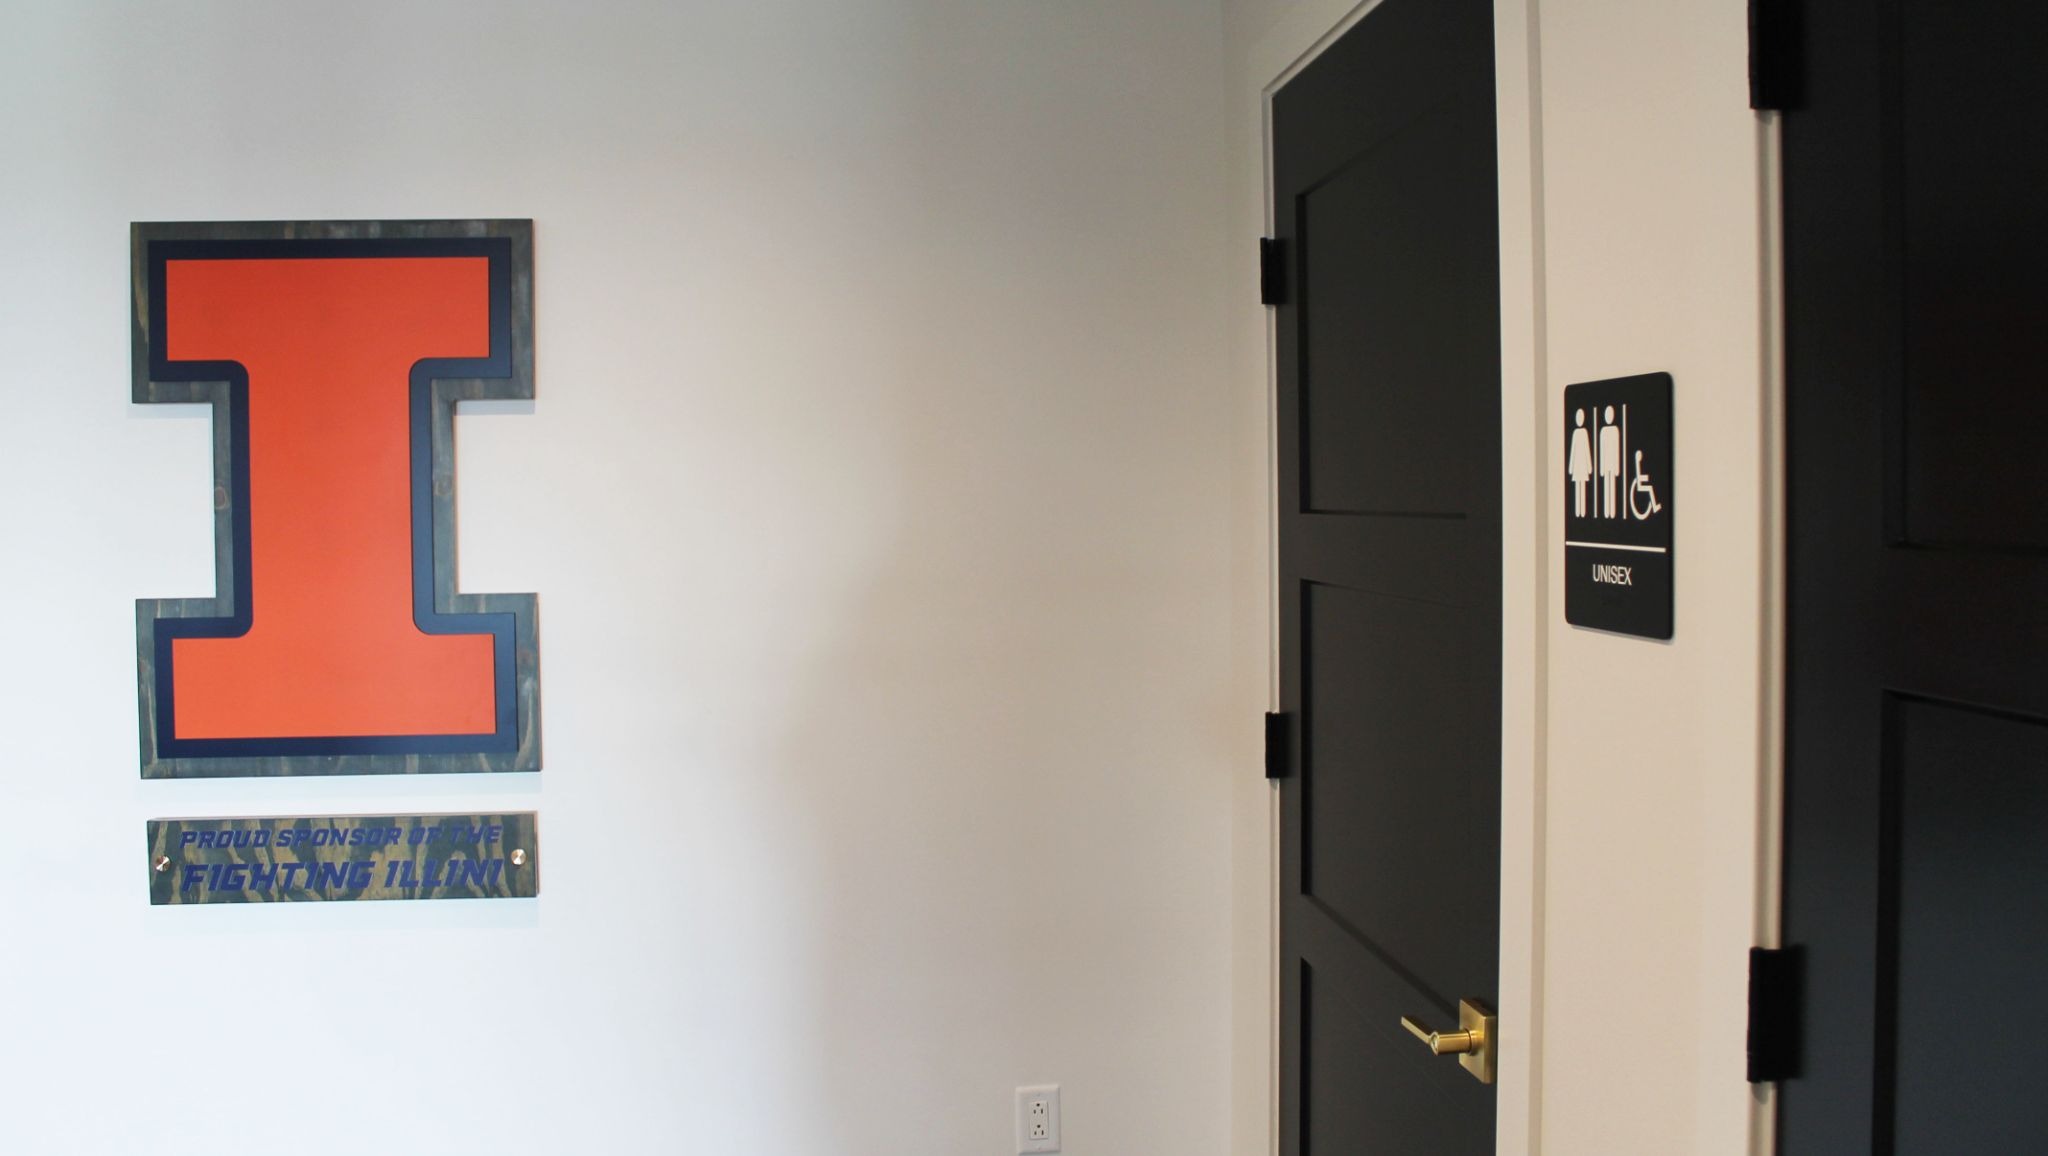
One sign handles the ADA requirements. A second sign handles visual wayfinding. Use a tactile wall sign that identifies the room and a separate visual sign on the door where local codes require additional wayfinding elements. The tactile sign handles raised characters and Braille, while door-mounted pictograms provide quick visual recognition. This approach prevents conflicts between tactile accessibility needs and visual wayfinding preferences.
When to Use the International Symbol of Accessibility
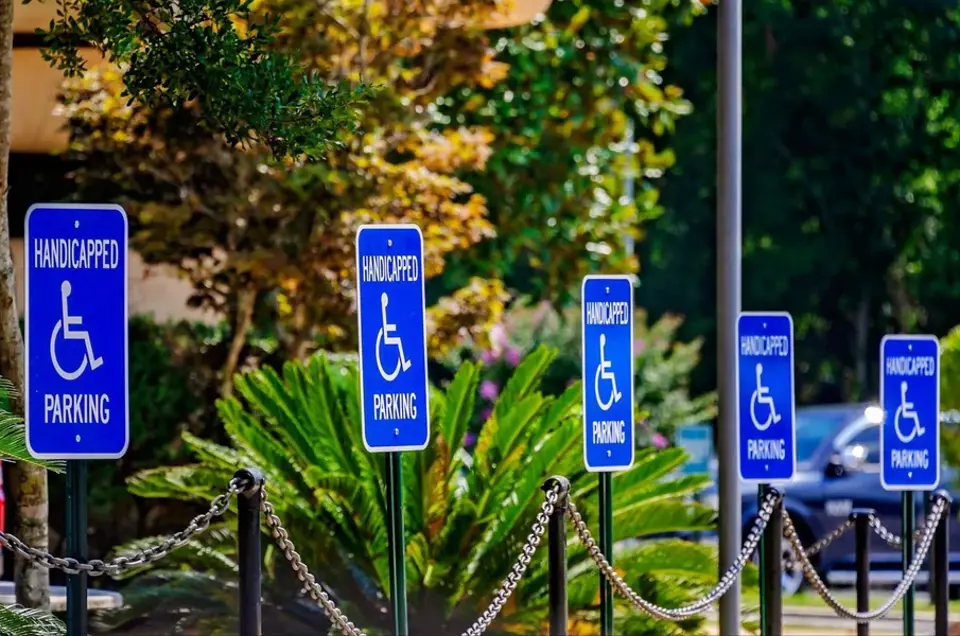
Apply the International Symbol of Accessibility only when the restroom, individual stalls and the route to reach them are all fully accessible. The symbol signals genuine accessibility, not just compliant signage. Placing it on every restroom sign misleads visitors with mobility needs. Reserve it for truly accessible spaces to maintain trust and provide accurate wayfinding for your community.
Design Features for ADA-Compliant Restroom Signs
The specifications in the 2010 ADA Standards work together to create signs that people can access both visually and through touch. Getting these details right is the difference between a sign that genuinely serves everyone and one that creates new barriers.
Raised tactile characters: Characters must stand out 1/32 inch from the background in uppercase sans serif fonts, ensuring easy tactile navigation and visual clarity for all visitors.
Grade 2 Braille: Braille must sit directly below tactile text with proper dot height and spacing.
High-contrast, non-glare finishes: Strong contrast between text and background is required. Avoid glossy surfaces or busy textures that reduce readability at a distance or up close.
6-inch clear field around pictograms: When pictograms are used, keep this space free of text or graphics so the symbols stay recognizable for all users.
Inclusive language options: Signs can include "All-Gender Restroom" or "Family Restroom" language while maintaining all tactile and Braille standards.
How to Correctly Install ADA-Compliant Restroom Signs
Proper installation is what makes your signs actually work. Skipping steps here is where compliance problems and costly corrections come from. Follow this process whether you're updating existing signs or starting from scratch.
Measure the tactile baseline height: Mark between 48 and 60 inches above the finished floor, then verify wall clearance on the door handle side before drilling or applying adhesive.
Reserve clear floor space first: An 18 by 18-inch clear area centered on the tactile characters is required for wheelchair users to approach and read the sign. Check this before finalizing your placement.
Match sign position to door type: Standard doors get the sign on the handle-side wall. Outswing or double doors get it on the nearest adjacent wall outside the swing path.
Use permanent mounting hardware: Screws, adhesive or a combination all work as long as the sign stays fixed. Check local codes before you install, since some jurisdictions require mechanical fastening.
Verify Braille and contrast before finishing: Confirm Grade 2 Braille sits directly below raised text with proper spacing and that background contrast meets visibility standards.
Document the installation: Photograph the final placement, record exact measurements and note any special conditions. This makes future inspections and ADA signage reorders straightforward.
ADA Restroom Sign Requirements: Frequently Asked Questions (FAQs)
Do all businesses need to follow ADA restroom sign regulations?
Yes. Nearly all businesses open to the public must comply with ADA Title III requirements, including restroom signage. The 2010 ADA Standards provide the technical specifications that apply to new construction and alterations.
What are the size, font and Braille rules for tactile restroom signs?
Tactile characters must be raised 1/32 inch with uppercase sans serif fonts. Character height ranges from 5/8 inch to 2 inches based on viewing distance. Grade 2 Braille sits directly below the text with proper dot spacing. The Access Board provides complete dimensional requirements.
What if there is no wall on the latch side of the door?
Mount the tactile sign on the nearest wall within the same room or space. The sign must remain outside the door swing path and maintain the required baseline height.
Can adhesive mounting replace screws for ADA restroom signs?
Adhesive mounting is acceptable if it provides permanent attachment equivalent to mechanical fasteners. Some local building codes require mechanical fastening, so check with your authority having jurisdiction (AHJ) before you install.
What happens if existing restroom signs do not meet current ADA standards?
Existing signs aren't automatically exempt from ADA requirements. Under the law, facilities must remove accessibility barriers when doing so is readily achievable — and sign upgrades often qualify. If your current signs fall short, we can help you assess your obligations and prioritize updates within your budget.
Get Compliant Restroom Signage That Works for Everyone
Every visitor to your facility deserves to navigate it with confidence. A quick assessment tells you which signs need updates, where new compliant signage is required and whether current placements meet the 48- to 60-inch mounting requirement.
Professionals take the guesswork out of compliance while serving your community's full range of needs. FASTSIGNS manages every step from design consultation to installation, coordinating with your schedule and local requirements to keep your facility accessible and legally compliant. Partner with FASTSIGNS to design, create and install compliant signage that welcomes every visitor to your facility.
.1).jpg.0000000000000.webp)
.2).1).0000000000000.jpg)
.1).jpg.webp)

.2).1).jpg)